Buildlog Title: Quantum ORD Alternative


Builder: Pazu
Member Since: 2011-06-17
Thursday, July 5th 2012 - 12:51 AM
Getting good prints.
The ORD bot has given me new found reliability. I can now confidently leave my prints unattended.
Prints not adhering well to the print bed has always been an issue for me. Either the print would totally fail to stick or lifting would occur soon as the print go a few mm high.
Using the
ABS juice method initially gave me good results but large prints still lift. Reading thru the thread, I decided to try nophead's method. I pre-heat the bed to 130C and print the first layer and have the bed reduced to 100C after. This together with
brimming completely fixed my lifting issue! I think there is also a variation in how you apply the ABS juice. I apply mine now on a cold bed using moderate thickness. It's definitely not as thin as how
nophead described his.
Anyway, just want to share some nice prints.


My next problem was de-lamination. Using the previous 0.5mm nozzle, I never had problems with this printing at 0.25mm layer. The layers were always very well bonded. I also always use only 2 loop perimeter.
As I switched to a new nozzle (0.35mm, or maybe it's 0.3mm???) and continued to print as before, delamination of prints is a big issue.
I printed this
monitor mount and decided to give it a simple strength test and the part broken without effort.

To solve this, I now print at 0.2mm with 4 loops perimeter for parts that need strength. Also I think it'd better to orientate the parts so that it will not fail on layering axis.

Comparing the quality with previous sprinter, Marlin is visibly superior. Also emaker's version of the software produced a lot of surface bumps.

I went a bit over-zealous with the flame polishing!

I think this concludes my build log. Thanks to bart for the great design.
 add comment in the forum
Monday, July 2nd 2012 - 2:10 AM
LOL. I'm using mostly default values from Slic3r except for the retracts.

Now that I look at it again, the traverse is pretty damn good!
add comment in the forum
Tuesday, June 5th 2012 - 6:21 AM
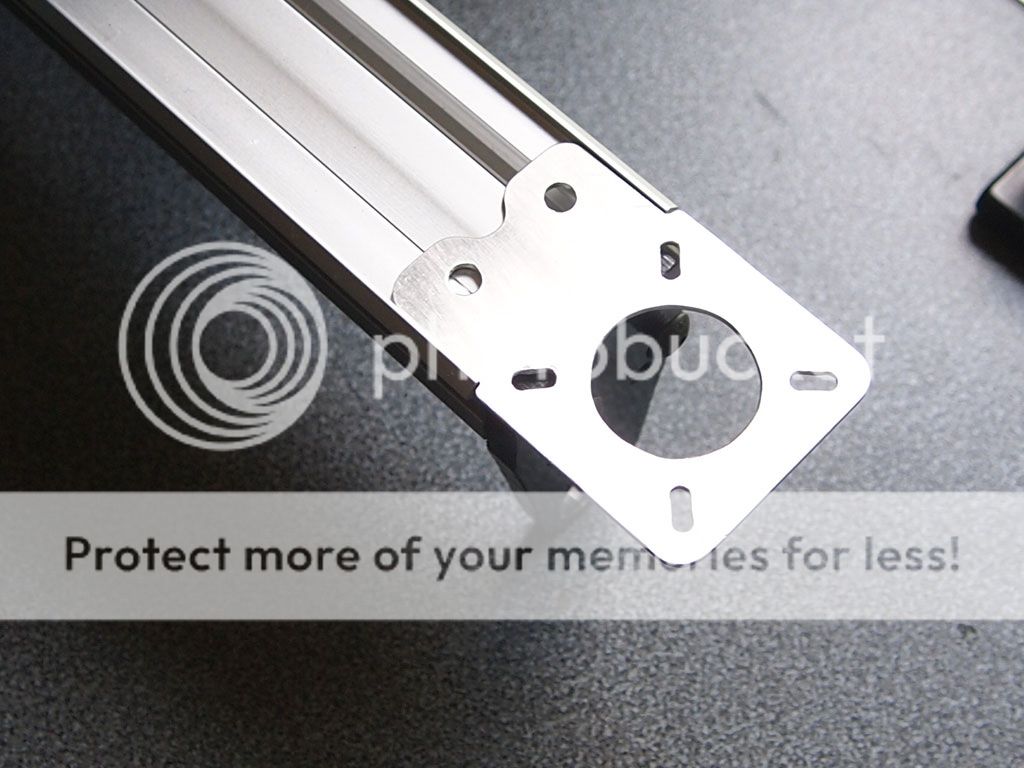
@Liberty4Ever: You are right that the slot cuts are extra work. But I actually did them so that I can use NEMA17 instead of the NEMA14 for the standard Quantum bot in the future.
Would surely report back when I start printing.
add comment in the forum
Tuesday, June 5th 2012 - 12:57 AM
Some progress. Slow as I had to fabricate some parts.
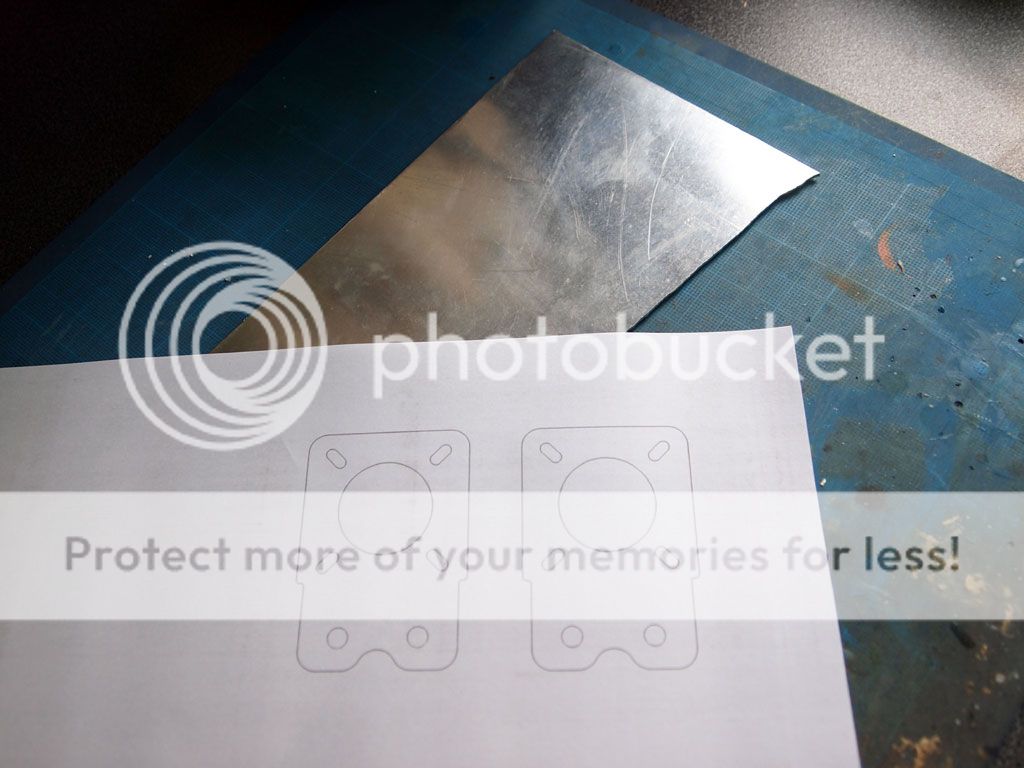
I don't have any electrical tools that can cut the part so I use mostly hand tools. Fret saw in this case.
Marking with printed templates.
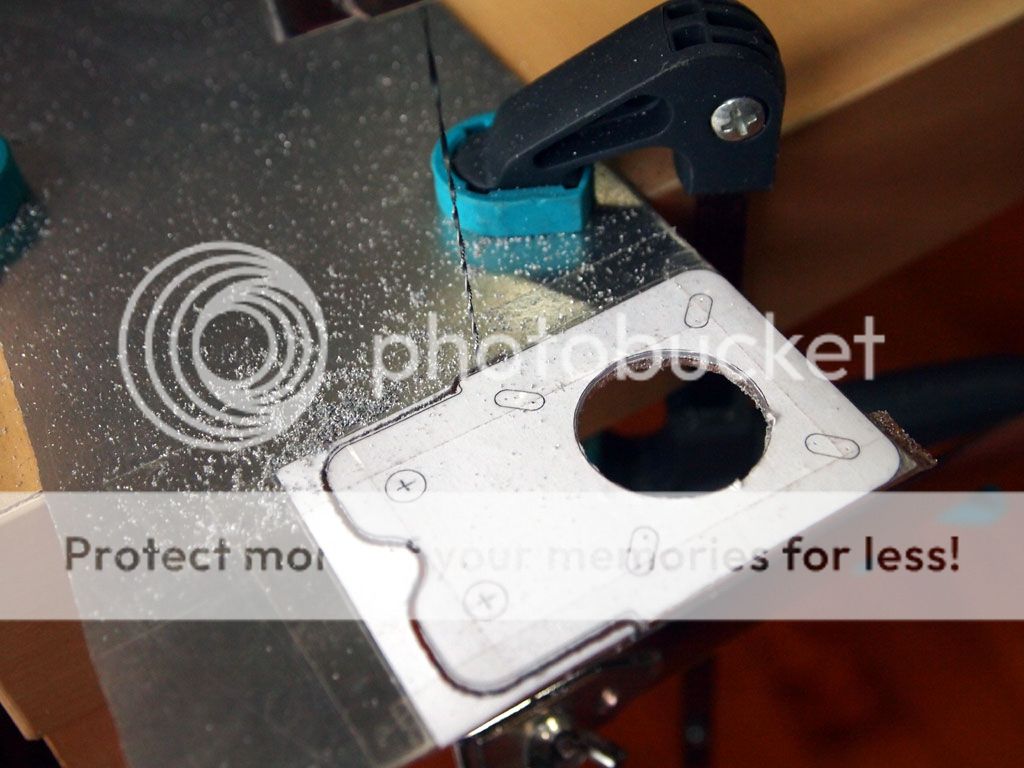
Sawing.
Done.

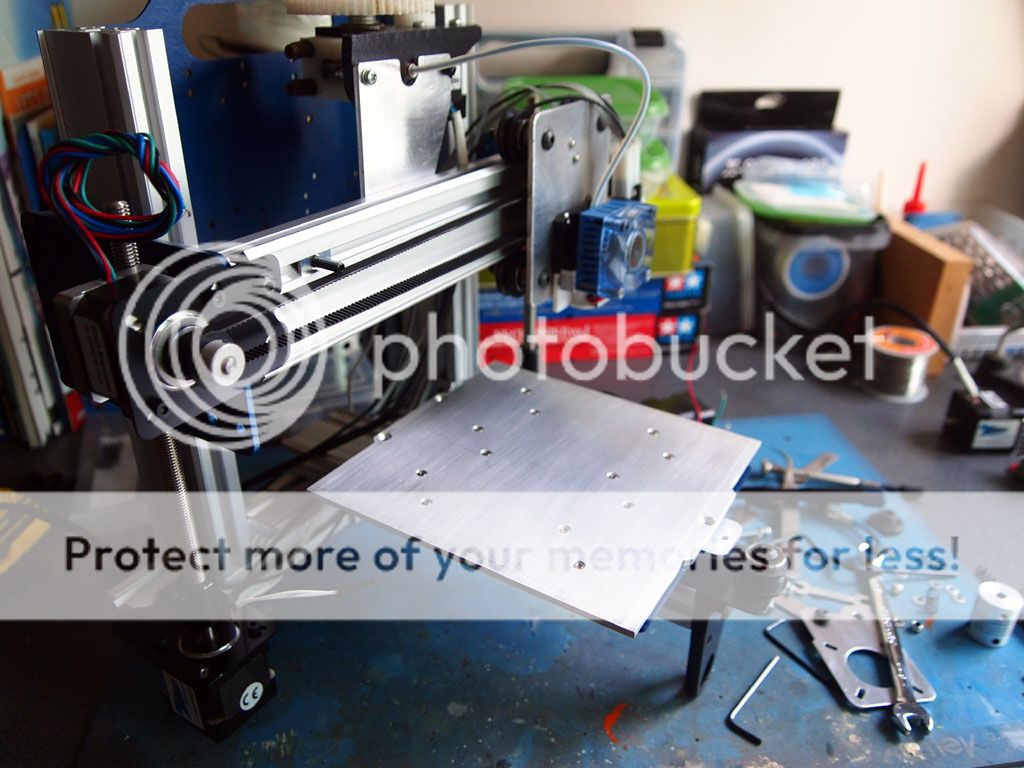
Here's how it currently looks like. Initial fears about the poorer weight distribution was unfounded. The thing is as solid as a rock.
add comment in the forum
Thursday, April 26th 2012 - 4:41 AM
I agree. It's definitely more weight for the z axis.
But the pivot isn't that much more forward and z axis doesn't really move much. Guess I'll find out when it's all done.

add comment in the forum
Thursday, April 26th 2012 - 3:34 AM
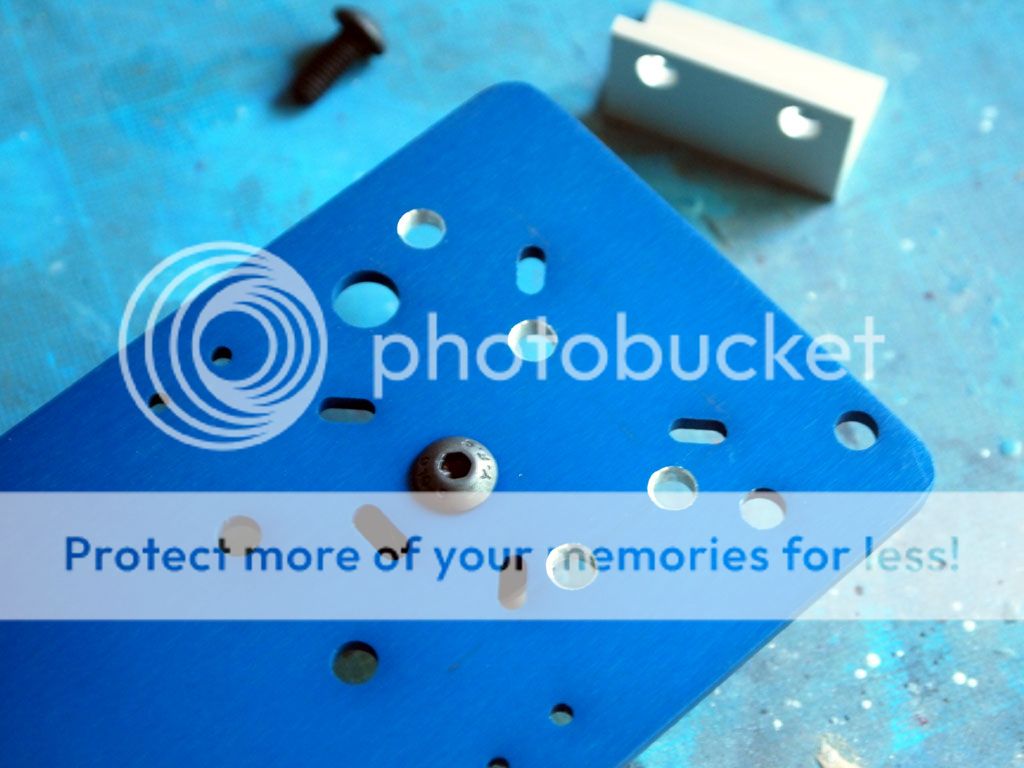
orcinus wrote:How's a single bolt more rigid than 4 spacers (w/ 4 bolts)?
Ah but now it's 4 bolts for the motor plus 1.

Just feel that the spacers are too long and the lateral torque force might be an issue. Of course, all these are probably just my imagination.
I have concerns about throwing the weight forward too. But IMO, it's not putting any much more weight on the Z axis than the original. The Z nut blocks will still be mounted directly on the original plate, just shifted in position.
Like I said, not a better design. Just one that saves space.

add comment in the forum
Thursday, April 26th 2012 - 2:23 AM
Here's my build log for the Quantum. ORD Alt.,
"odd odd"... Geddit? Hehee.... OK lame.
Right when I first knew the build volume of the ORD bot, I knew I'd have to mod it. While Bart designed it to be very extensible, the foot print is something that I can't quite stand. Take for example the Quantum's width is more than twice the build volume width. For the X-axis which is a gantry, my feel is that it should be more economical in terms of space comsumption.
My target build volume is 150mm (x) by 210mm (y) by 120mm (z). Y axis is of course, easily extensible. Z is already within the original build volume.
My idea is to rotate the vertical Makerslides so that I can reduce the overall size of the bot while giving more space for the build platform.
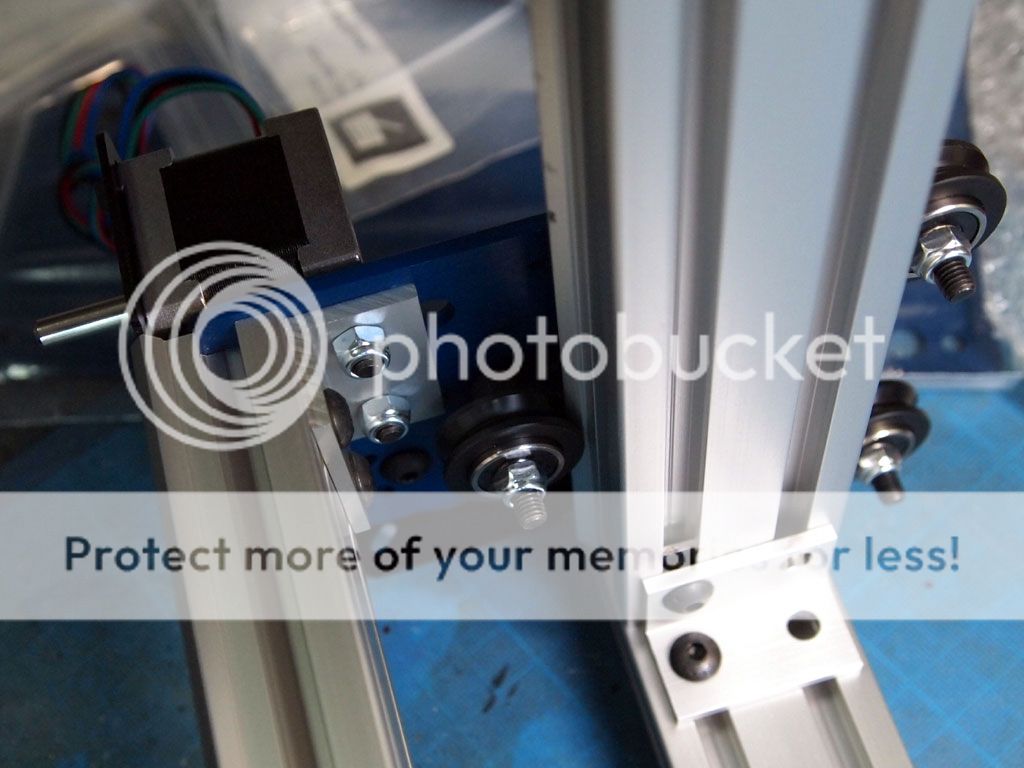
Another thing I couldn't stand is the way the X motor is mounted. Somehow the spacers don't seem very rigid. The motor bracket looks much better.
Anyway, here's my build currently.
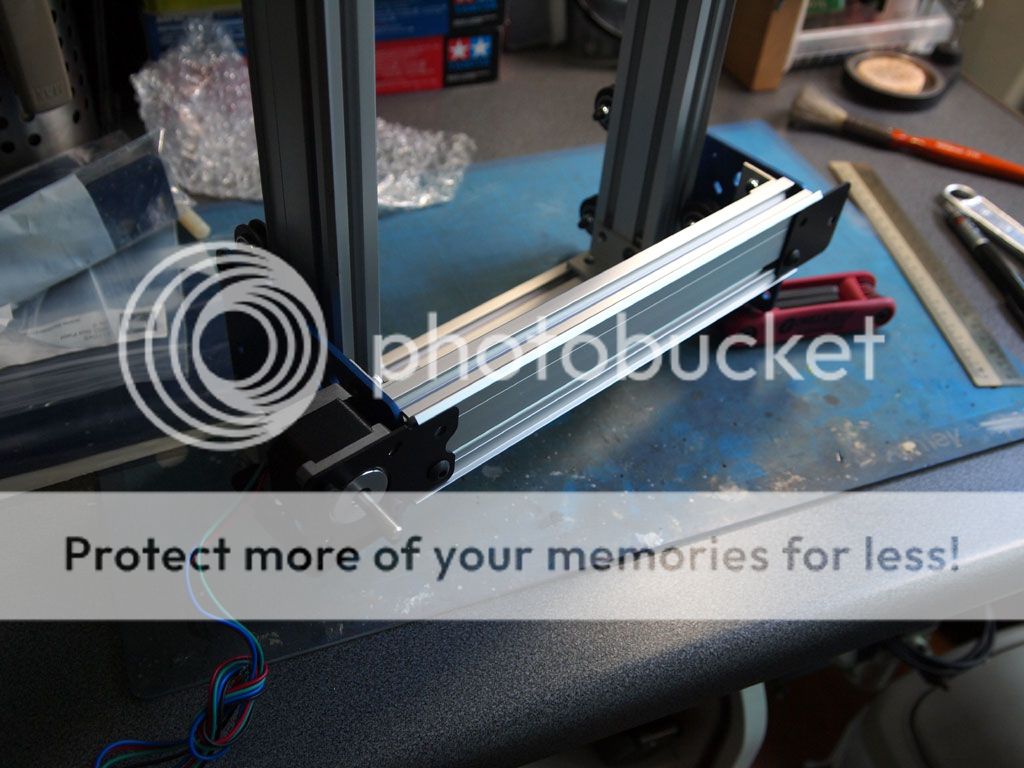
I have to say that I believe I didn't come up with a better design. Just one that saves more space. I'm certainly ending up having more parts.
Next up, I have to make a new gantry plate too.
add comment in the forum


