Coasty Version 1.2

Here are some updates to Coasty – The Coaster Toaster, the tiny laser cutter specifically designed to cut drink coasters.
New Traction Roller
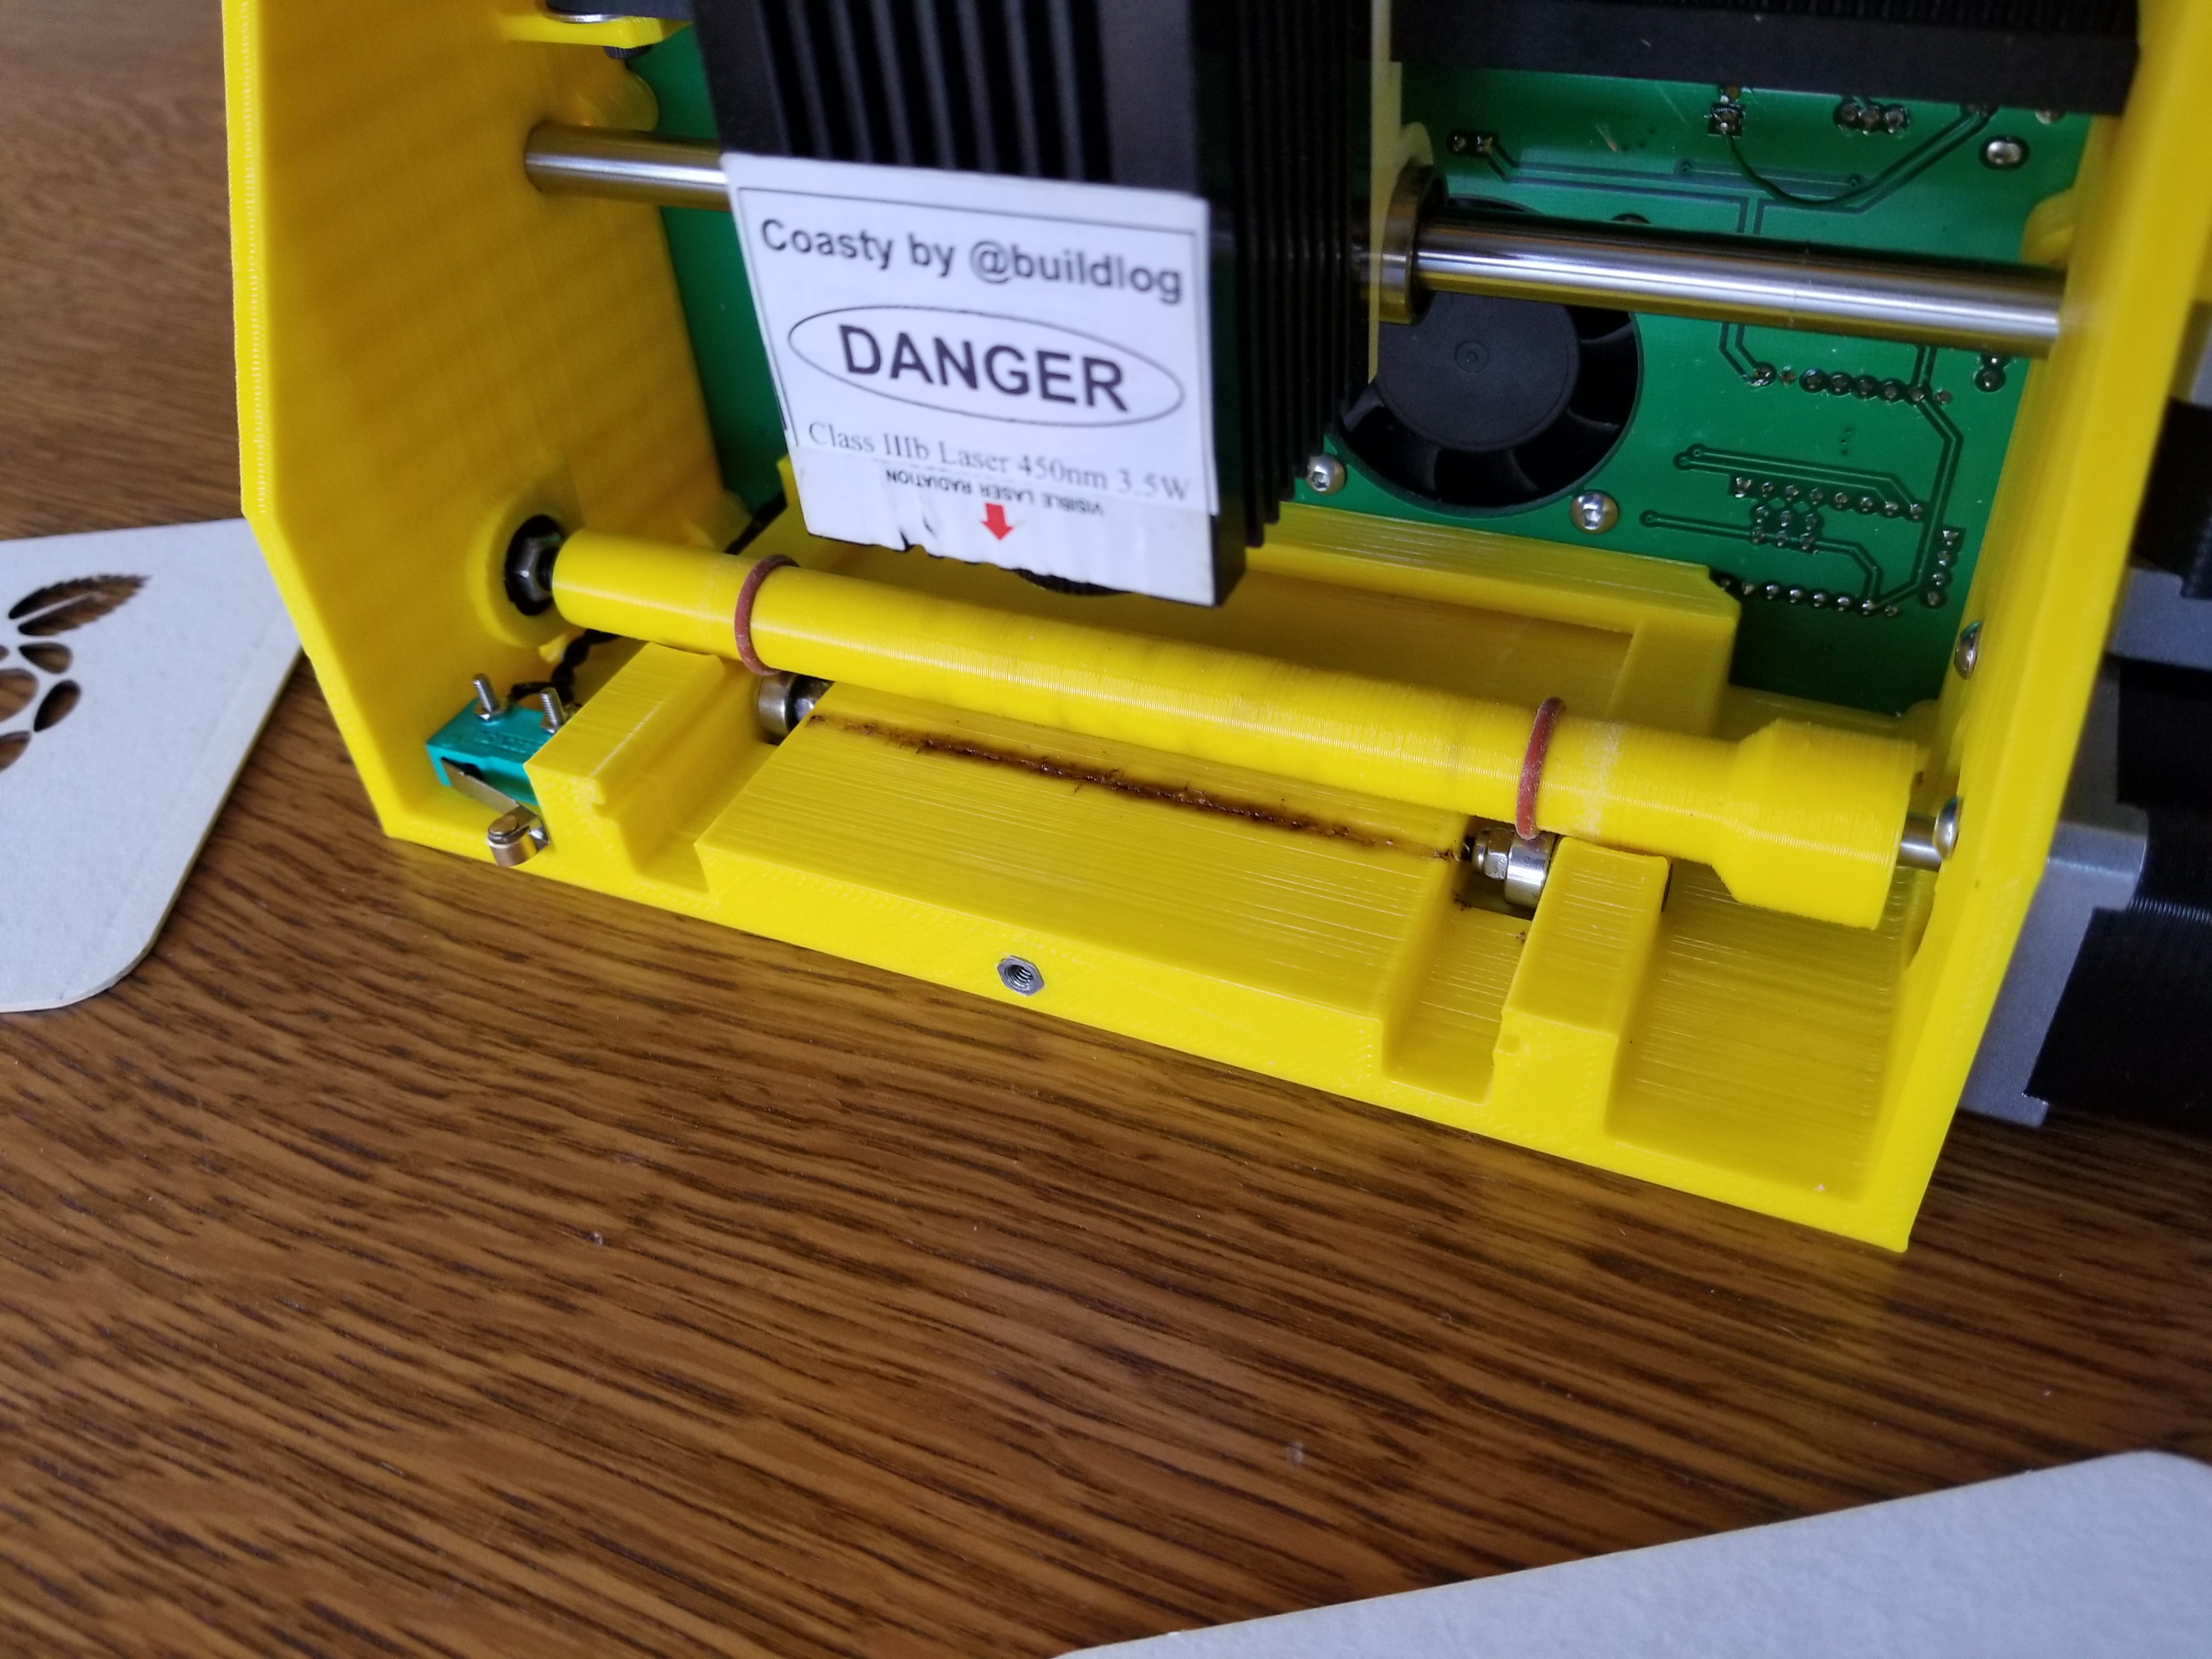
I made the traction roller diameter a lot smaller and moved it behind the beam. A smaller roller has a lot of advantages. It allows the beam to be closer to the contact points of the rubber orings. This improves the usable work area, because you can get closer to the edge of the coaster. With a smaller diameter the coaster travels less per revolution. This increases the torque and resolution.
Smaller Chassis
The chassis is now about 16mm smaller in depth due to the smaller roller and new location. The depth of the machine is quite a bit smaller than the coaster.
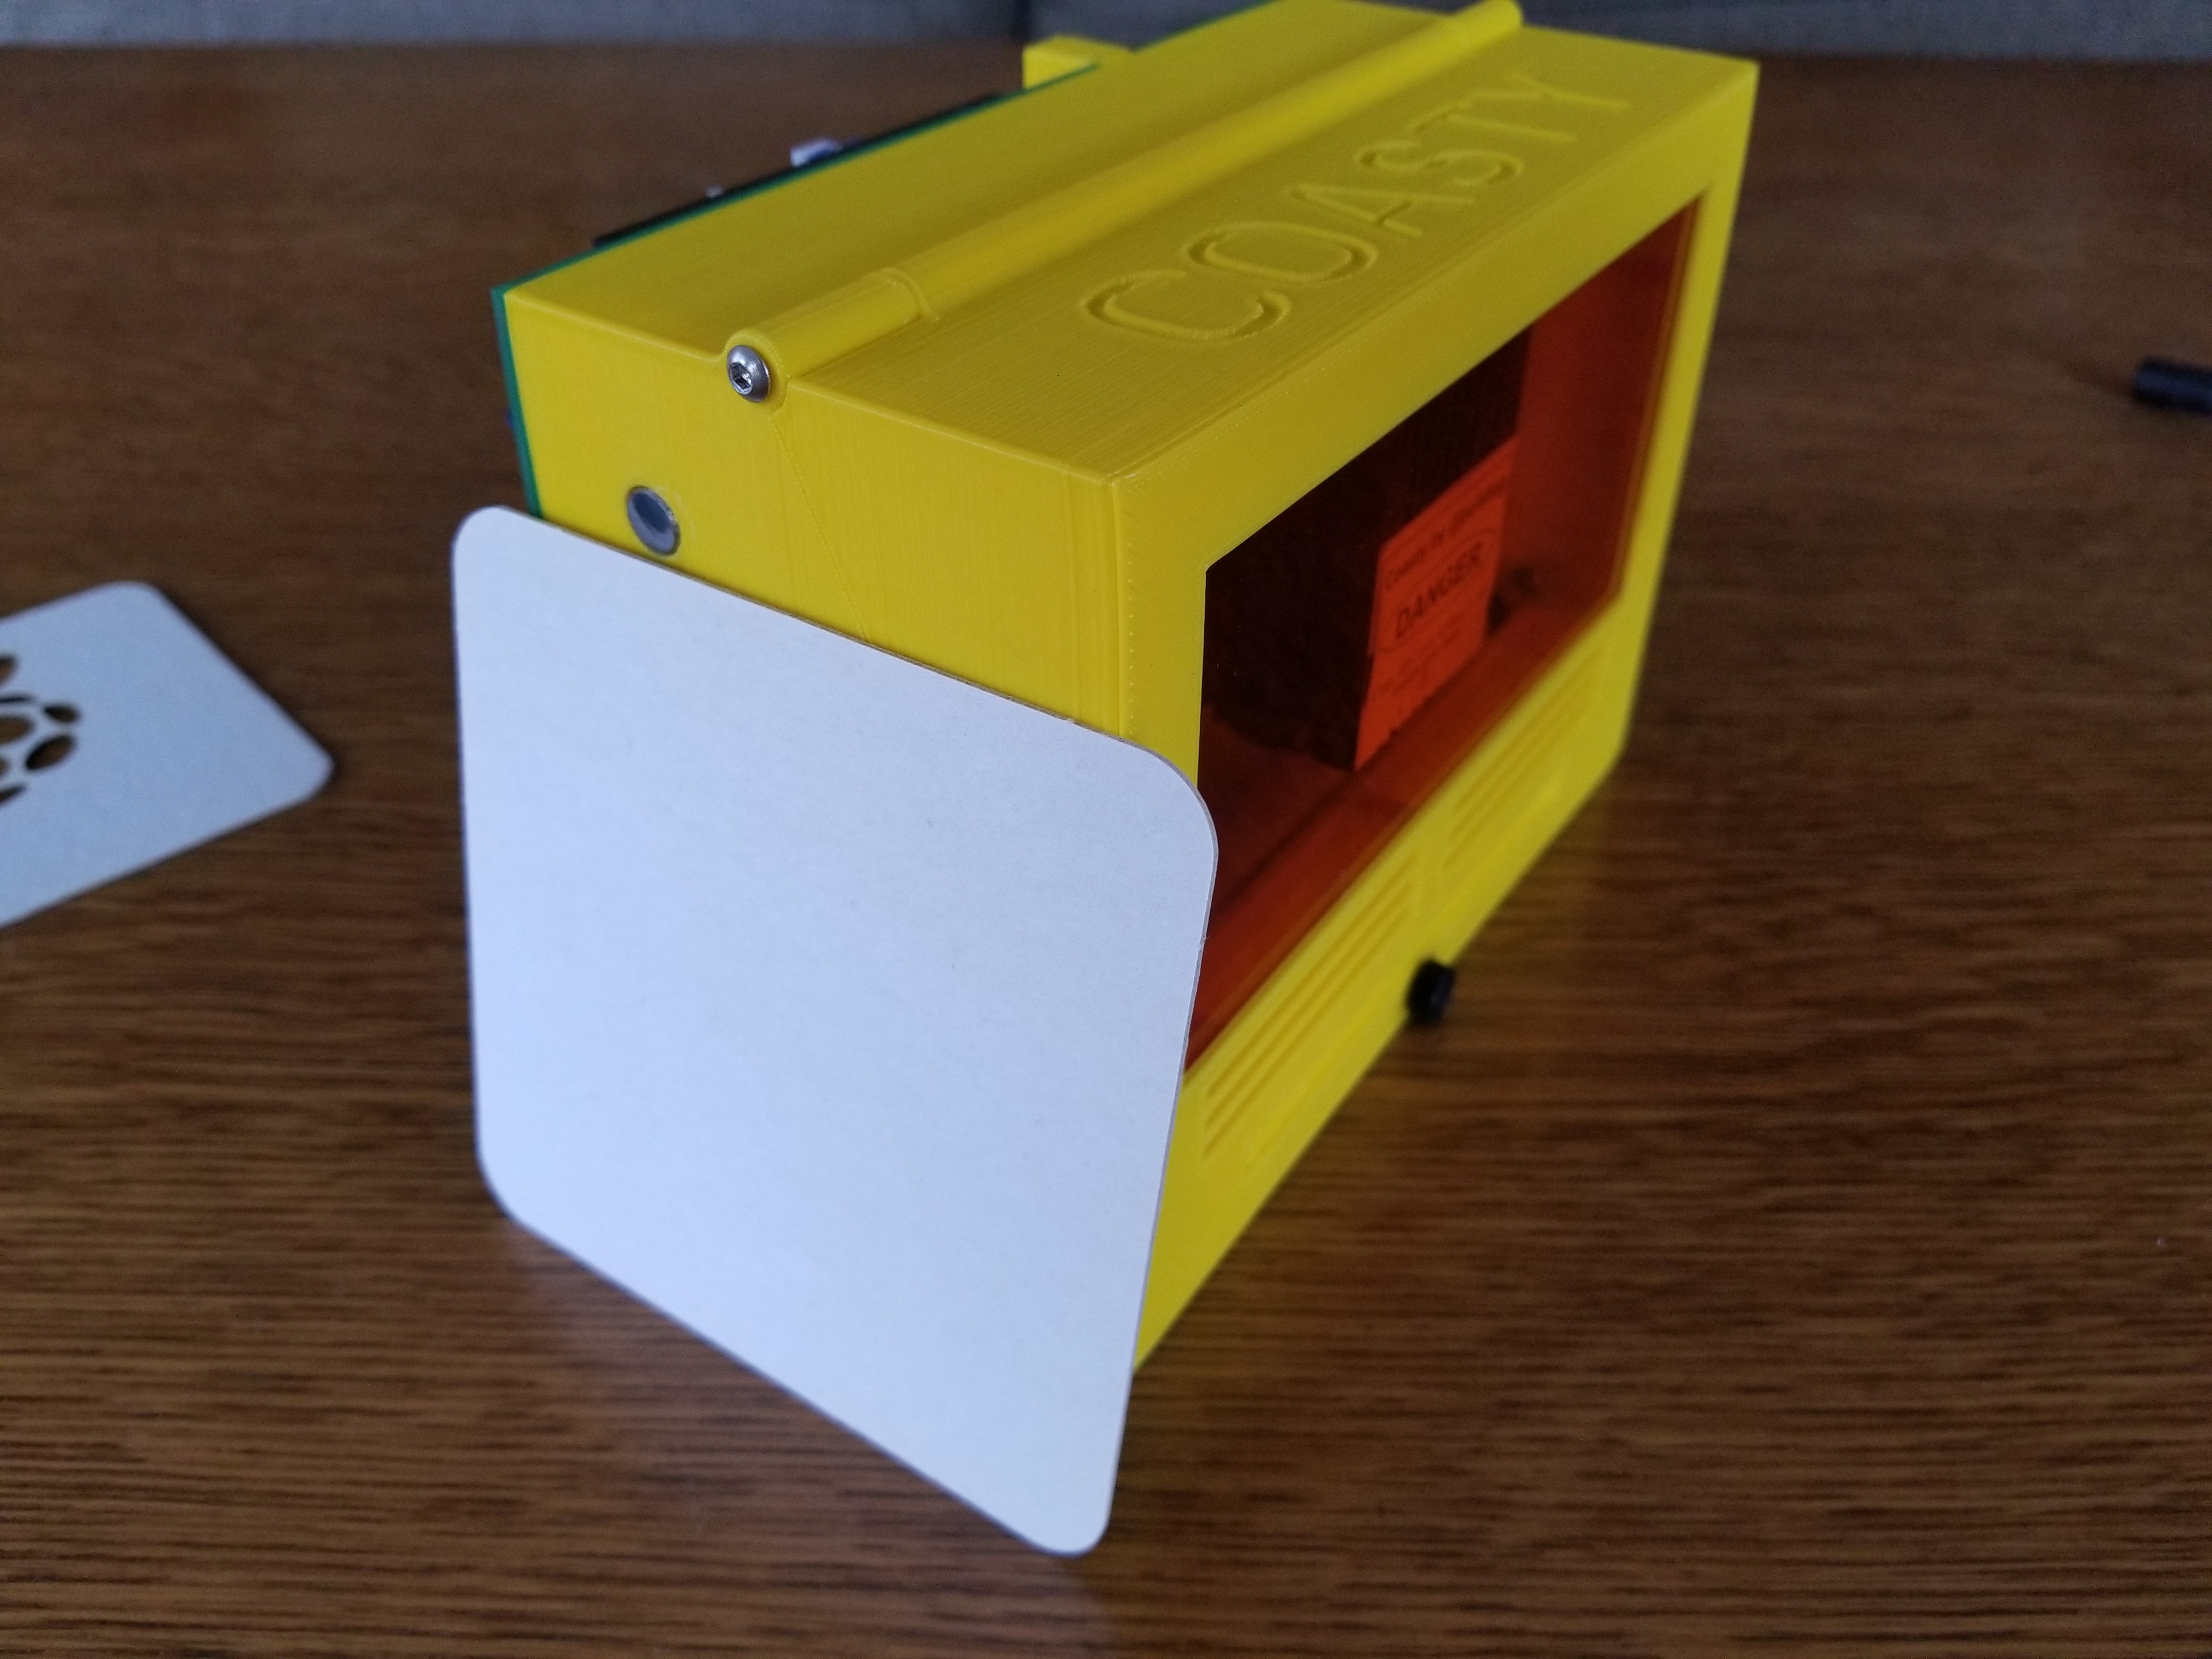
Fan Guard and Carbon Filter

I added a fan cover on the back. This acts as a finger guard and also allows a few layers of carbon filter cloth to be used. Bulk carbon filter cloth for use in air purifiers can be purchased on Amazon very cheaply. It removes a good portion of the odor of the smoke.
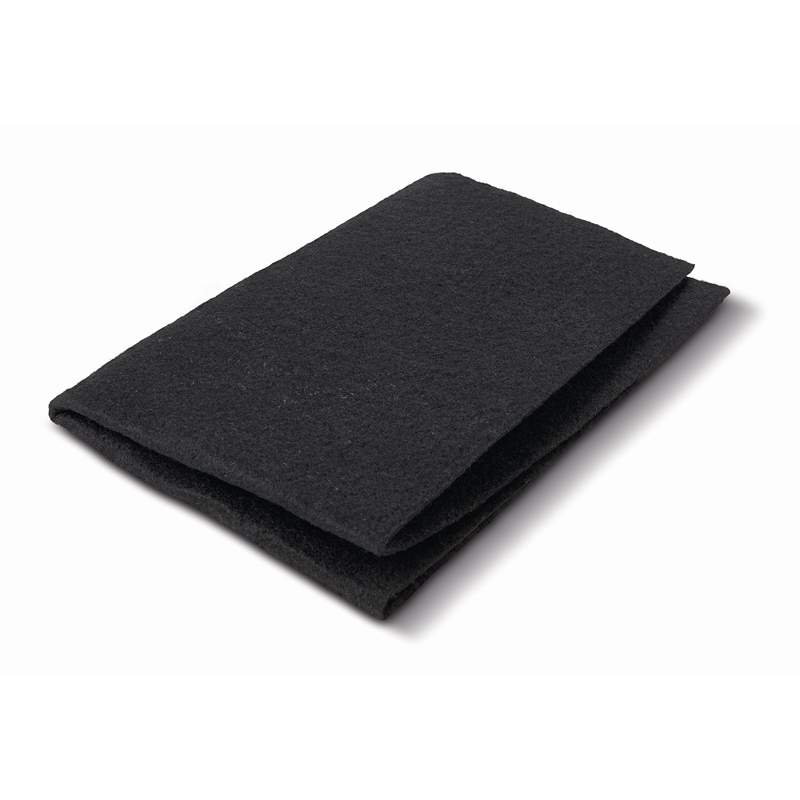
Carbon Filter Cloth
Door Interlock Switch
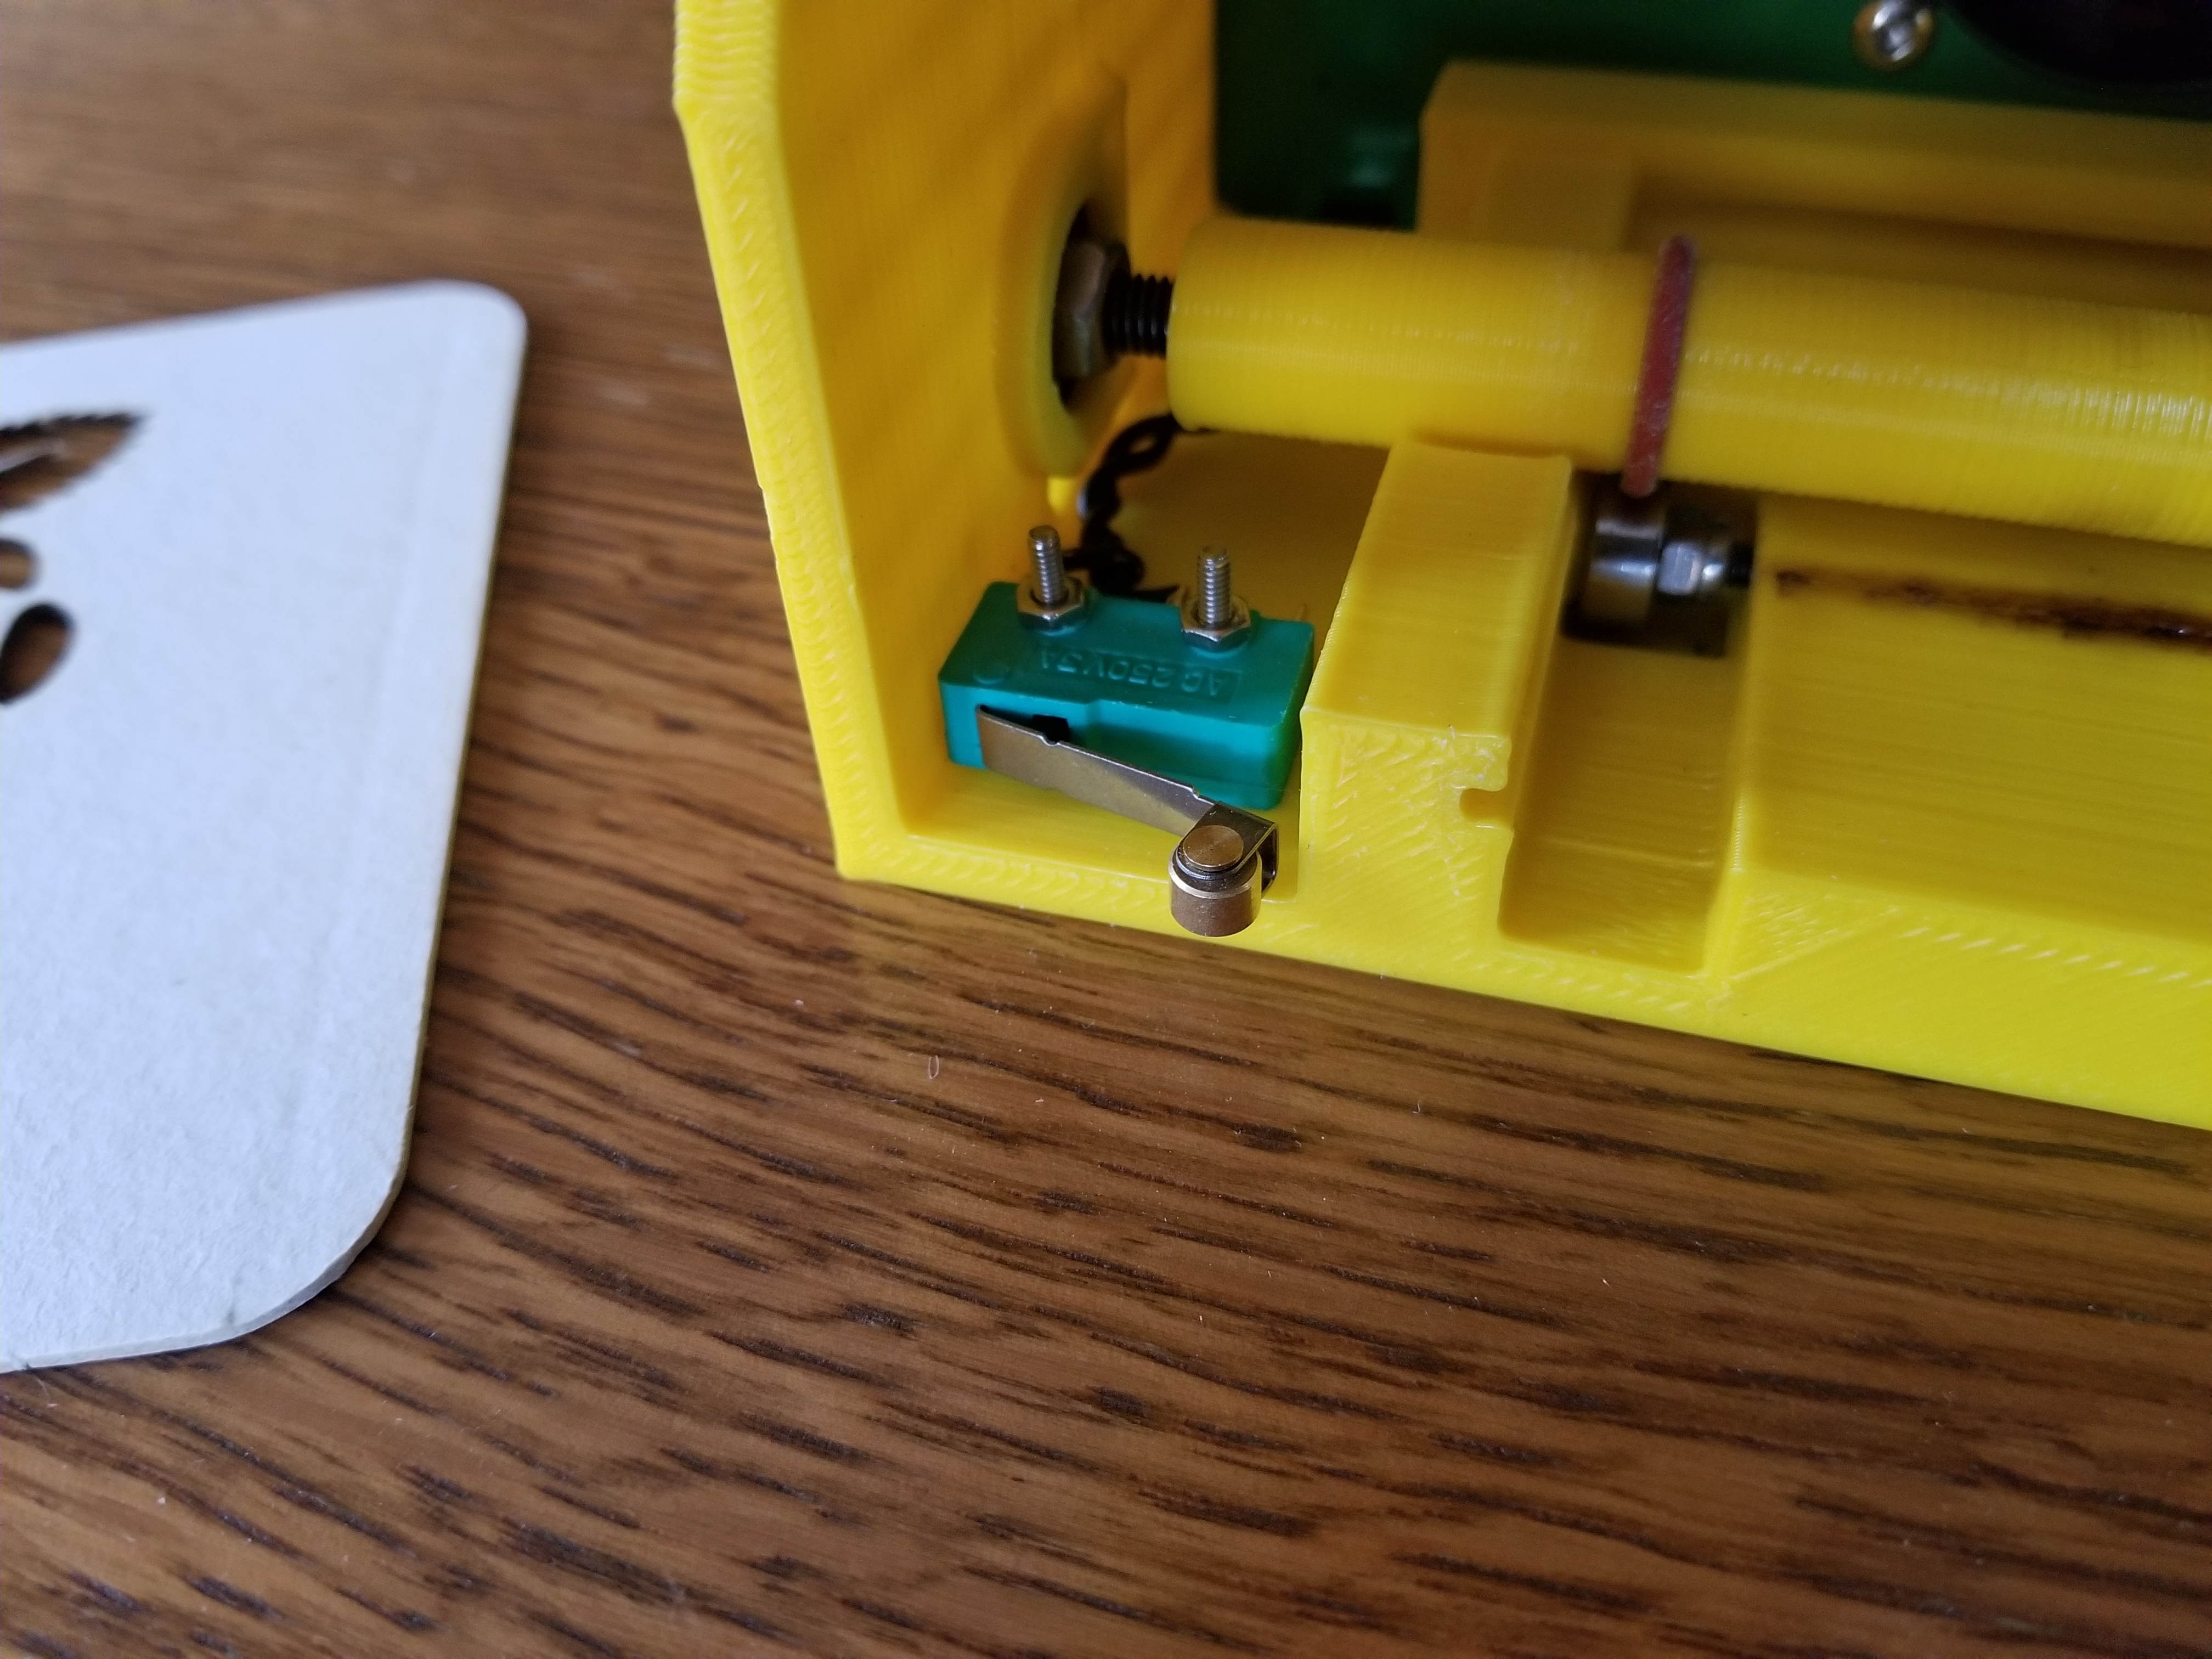
There is now a switch that cuts all power to the laser when the door is opened. You can still run the machine to test the motors, homing etc, the the beam cannot turn on with the door open.
IR Coaster Detector
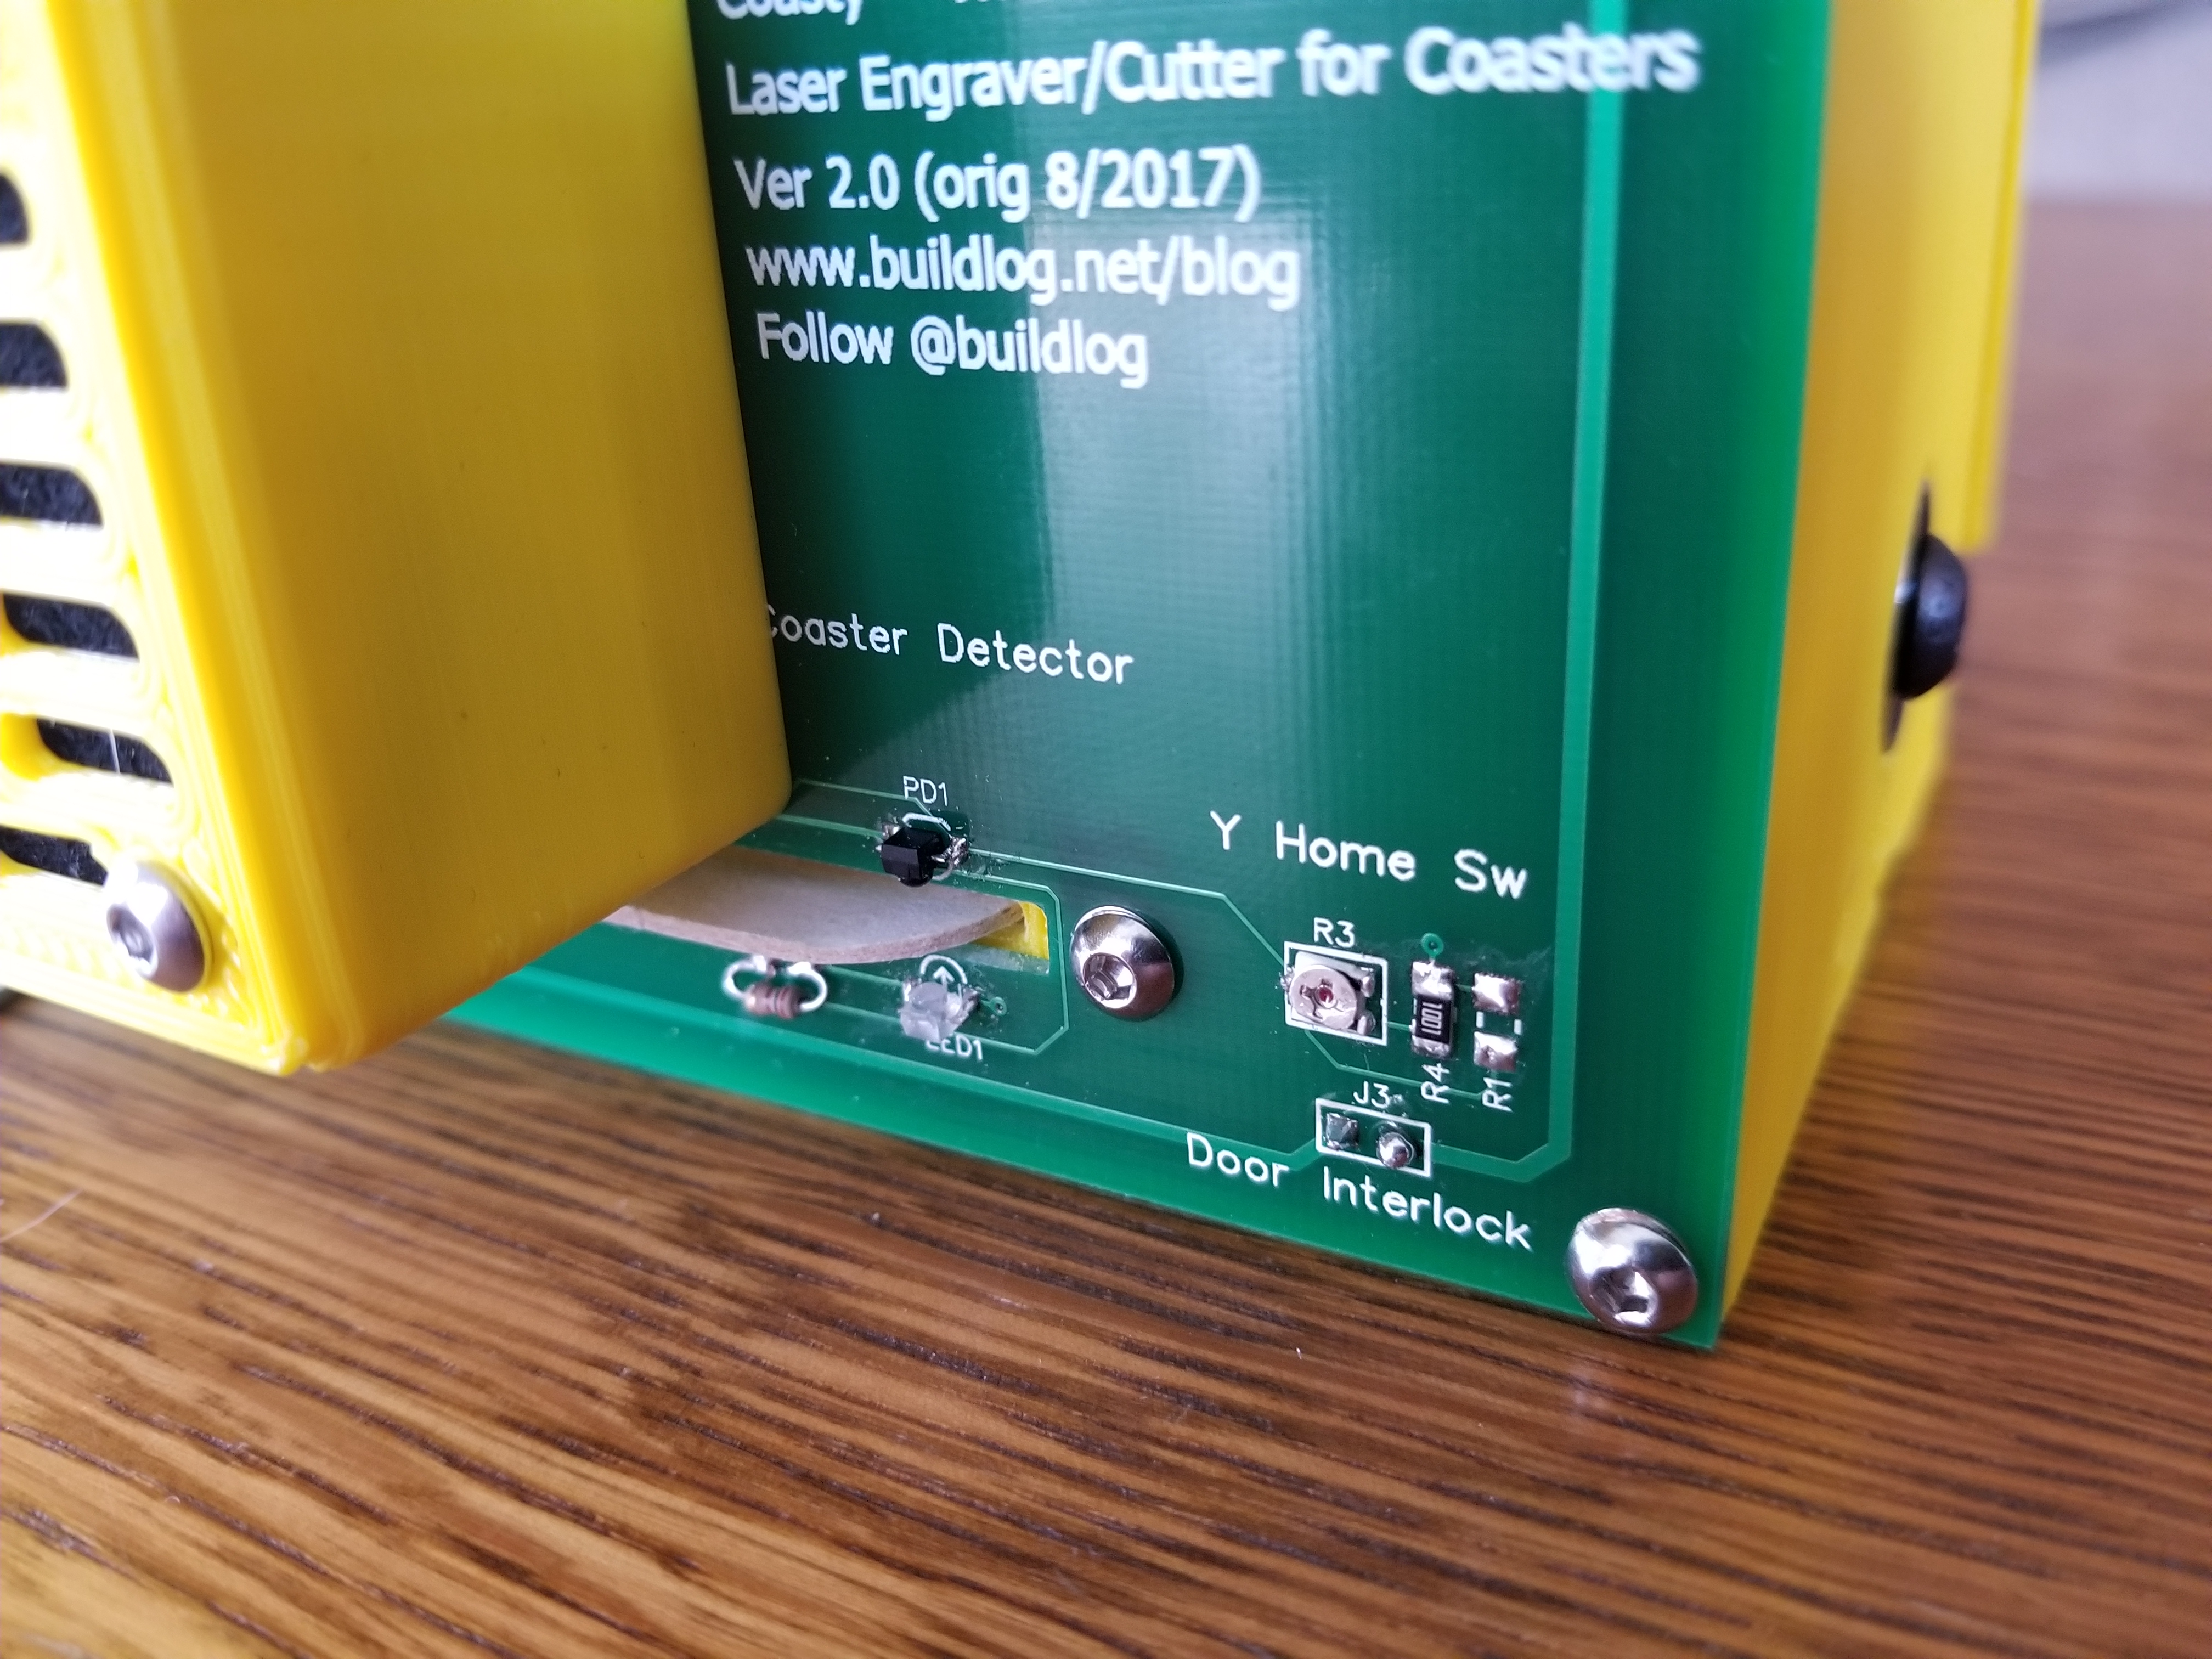
I was not happy with the coaster homing switch used on the first version. While it never failed, it did not appear to be very robust and it caused some drag on the coaster. I changed to a IR LED and photo diode. When the light from the LED hits the photo diode, it conducts to the +5V. When the coaster blocks the light, it is pulled down to ground. I used a pot on the pull down because it did not know what he exact value would be. It turns out the value needs to be about 40k. The only catch was the microcontroller input pin pull up resistor on the Nano could not not used because it is less than the 40k. This required a slight hack to Grbl because Grbl is all or nothing on the pull ups for the limit switches.
I was not sure if ambient light changes might be a problem, like bright sunlight. The photo diode looks down and that appears to be good enough to avoid overhead light. I also have a mounting screw there in case I need to add a little shade/cover.

IR LED / Photo Diode Circuit
Bluetooth

I have been using Bluetooth on some other machines and really like it. Skipping USB cords and using a phone instead of a computer is great. I have found it to be very reliable. The real world bandwidth appears to be a little lower than 115200 USB. It has not been a problem, but I don’t do much gray scale engraving on this machine which needs higher bandwidth. Regardless, USB is still an option.
A standard HC-05 or HC-06 module plugs into a right angle connector.

Video
Here is a video of this version.
If you want to be notified of future blog posts, please subscribe.


Oh wow. v1.2 looks great! Nice evolution! 🙂
*throws money at the screen*
Thanks Bob!
Subscribe to the blog to stay up to date. I might make a kit that includes everything but the printed parts and laser module soon.
That would be awesome! Do you have a particular brand or supplier that you trust for the laser module?
Already subscribed and ready to be an early adopter when you’re ready. 🙂
I use the 3.5w from Eleksmaker. I am waiting for my second one from Banggood.
https://www.banggood.com/450nm-3500mW-3_5W-Blue-Laser-Module-With-TTL-Modulation-for-DIY-Laser-Cutter-Engraver-p-1103261.html?rmmds=search&cur_warehouse=CN
Following with baited breath! gotta have/make one!
Have you thought of using an ESP32 instead of the nano/bluetooth module?
Can still be programmed with arduino, but has wifi and bluetooth all for < $10 (single unit with USB)
Cool. Thanks! I found the same make/model with matching part number from a US-based vendor that has them in stock for a few bucks cheaper (including shipping).
@Kevin O
If you look back a few posts, you will see that I am looking into the ESP32. It is a great chip.
BTW: The Nano + HC-05 is probably less than $10 too.
Ah thanks Bart, I had missed that! Great work! I didn’t realize the stepper controllers needed that tight timing.(just my ignorance)
Any chance of files? I could help and lay out an ESP32 board with stepper drivers (either to fit coasty or just general (smaller) to experiment.) I work in Kicad or Altium.
Quick question: Do you think LaserWeb4 is compatible with your controller?
Details: https://github.com/LaserWeb/LaserWeb4/wiki
@Bob
LaserWeb works fine. It has some nice features, but I find it to be very sluggish on my i7 Windoes 10 laptop. It also has a minimum machine size of 100mm x 100mm. Coasty has a 85mm x 85mm work area. That is no big deal, but annoying. I like the fact that you can mix cuts and engraving, but paper Coasters don’t engrave well. The engraved area just rub off.
I prefer to use LaserGrbl. It is super fast and allows you to add buttons like “eject”. It is a very fast workflow from bitmap to profile cut.
For Andriod, I like “Grbl Controller”. I use it to send GCode code that was generated in LaserGrbl.
Great to know! 🙂
I might try a thin layer of modge podge (sprayed) to seal in a coaster engraving.
Something like this: http://www.michaels.com/mod-podge-clear-acrylic-sealer-matte/10194372.html
I don’t plan on doing any kind of heavy engraving, but the occasional bit of detail would be nice if I can figure out a workable option.
The LW dev team is really open to change requests. I might ask them to lower the minimum machine size to 80×80 or something, so we can use it here.
That said, the speed issue is concerning. I’m totally fine using LaserGrbl too… LW4 can produce the GCODE for you too, which is nice. Does LaserGrbl do the same?
Great build! However, that plain plastic block under the operating line of the laser really bugs me. It is already collecting some nasty burn marks and it is probably not a great idea to heat that part over prolonged use of the machine. I would probably put something to absorb or scatter the laser and maybe spread the heat a bit. I’m thinking of a non-shiny (sand-blasted or brushed) piese of metal, maybe?
The marks you see are from the smoke from the coasters. It cleans up with a little alcohol. If you look closely, you can see the tiny slit the beam cut. I have a metal strip on the bottom of the machine to reflect the beam.
The cut out parts from the coaster needs to slide with the coaster or they get hung up. I tried other methods to deal with the beam, but this worked best.
Hi! I was just wondering if you made your own pcbs or if you send them off somewhere to make?
If you sell this as a kit I would love to adopt and buy!
Thanks!